

🐣 Dry Hatching: The No-Sweat Way to Hatch Eggs!
So, you’ve got some fertile eggs, an incubator, and big dreams of fluffy chicks… but now you’re hearing about something called “dry hatching”? What is this mysterious, no-humidity-sounding sorcery? Don’t worry—we’ve cracked the egg on this technique so you can hatch with confidence. Let’s dive in!
🧐 What Is Dry Hatching?
Dry hatching is exactly what it sounds like: incubating eggs without adding water for most of the incubation period. Sounds counterintuitive, right? But here’s the trick—many climates (especially humid ones) already have plenty of moisture in the air, and adding more can do more harm than good.
In dry hatching, the goal is to allow just the right amount of moisture to leave the egg, which helps the air cell develop properly so the chick can pip and zip its way out.
💡 Why Try Dry Hatching?
Here are a few egg-cellent reasons to give it a go:
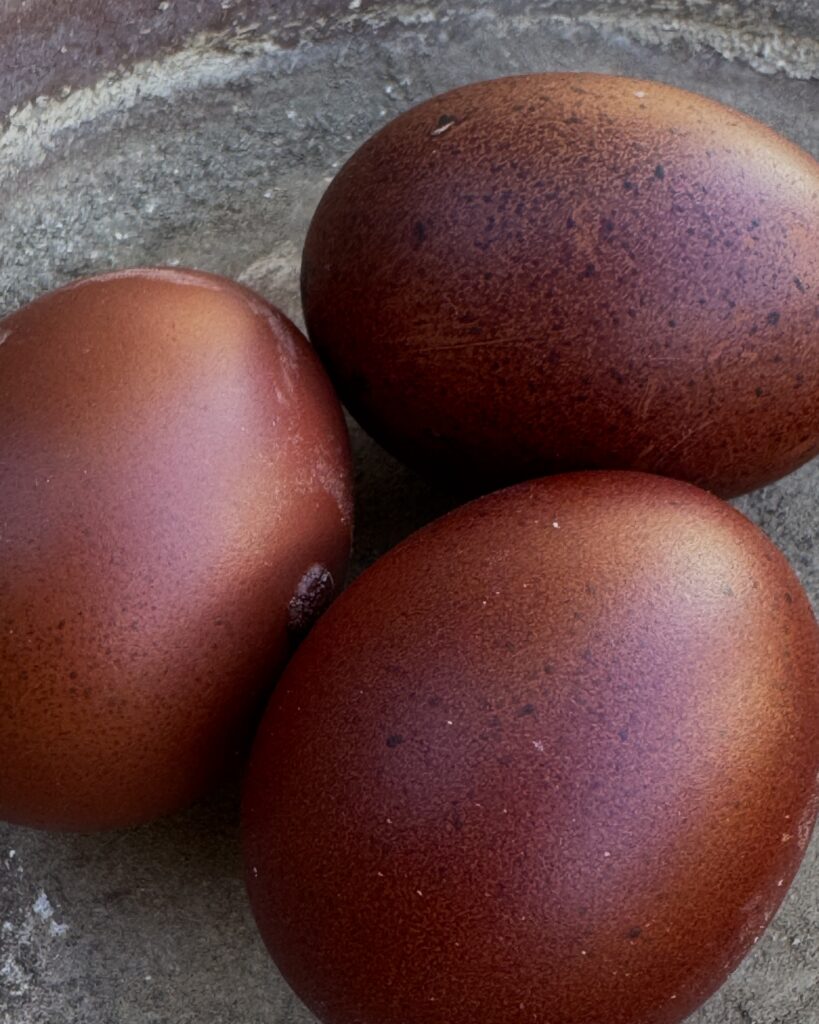
- Deep Dark Eggs Marans eggs in are known for needing to be dry hatched
- Higher hatch rates in humid environments
- Less chance of sticky chicks (aka shrink-wrapped in goo—yikes)
- Better air cell development = stronger, healthier chicks
- Simple setup—no water trays, no daily humidity checks (until the end!)
🐥 How to Dry Hatch Like a Pro
Here’s your step-by-step guide to success:
1. Set Up Your Incubator
- Temp: 99.5°F (37.5°C) for forced-air, 101°F (38.3°C) for still-air
- Use an upright position incubator (keep pointy side down)
- Humidity: Start around 20–30% (don’t add water unless it drops crazy low)
- Use a calibrated hygrometer for accuracy
2. Let the Eggs Breathe
- Don’t overcrowd—good air circulation is key
- Turn eggs at least 3 times a day, or use an automatic turner
3. Watch the Air Cells (Not Just the Calendar)
- Candle your eggs around days 7, 14, and 18
- Check that the air cell is growing nice and big—this is your best humidity guide
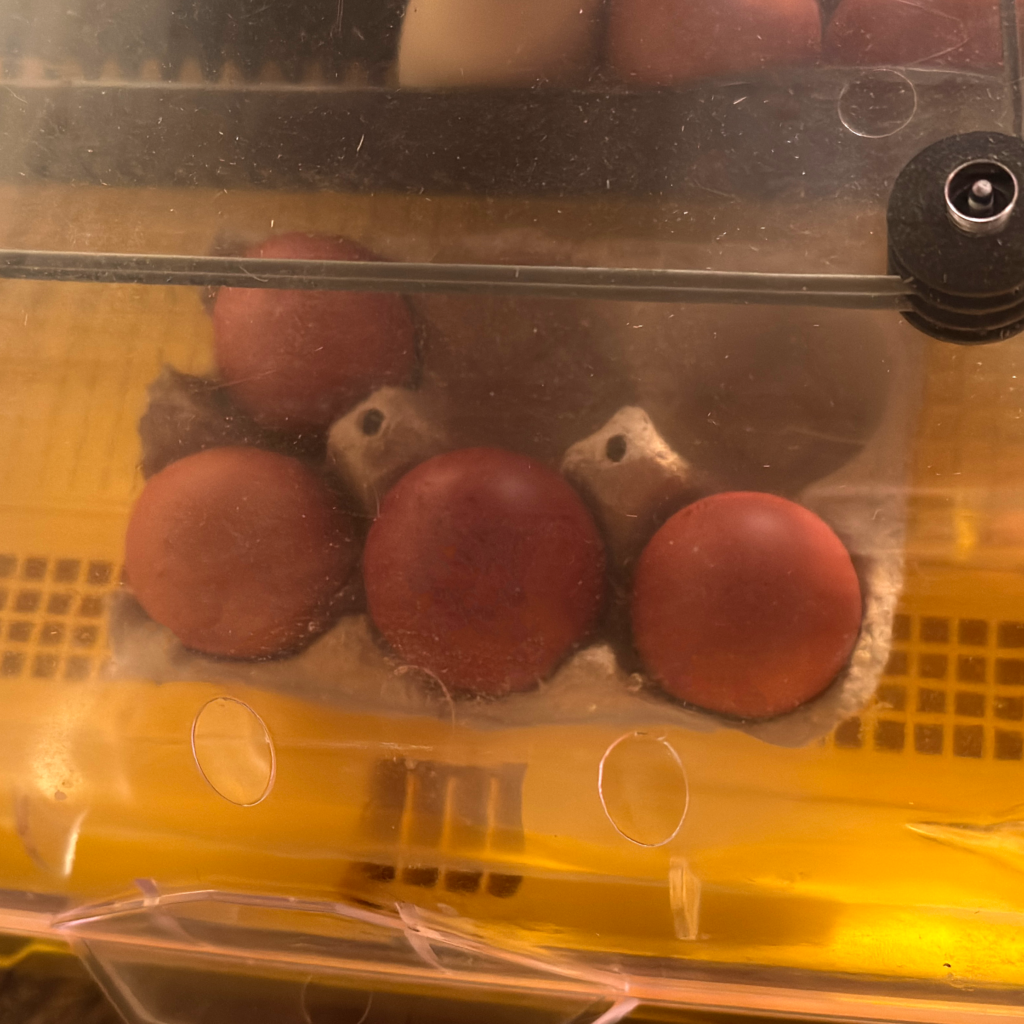
4. LOCKDOWN at Day 18
- Stop turning the eggs
- Transfer to STILL an upright position, using the bottom half of egg cartons or something. (important to check that air cell is in the correct place)
- Make sure you have shelf liner down so the chicks don’t get splay leg
- Bump humidity up to 45–50%—now’s the time to add water!
- Sit on your hands. Seriously. No opening the incubator now.
5. Hatch Day (~Day 21)
- Wait for that first pip and then prepare for cuteness overload
- Let chicks dry inside before moving them to the brooder
🌎 Is Dry Hatching Right for You?
Dry hatching works best if:
- You live in a naturally humid area
- Your incubator holds humidity well
- You’re tired of sticky or drowned chicks
- You love a more hands-off approach
If you’re in a dry climate, traditional methods might be better—or try a hybrid: low humidity for the first 14 days, then monitor and adjust as needed.
🐣 Final Egg-thoughts
Dry hatching isn’t a magic fix, but it can seriously level up your hatch game if you’ve struggled with humidity issues before. It’s all about balance, observation, and letting nature do its thing—with a little help from your incubator.
So go on—give dry hatching a whirl. Your future fluffballs will thank you.